linux 에서 local network 에 쉽게 파일 공유하기
woof
Woof (short for Web Offer One File) is a simple application for sharing files between hosts on a small local network. It consists of a tiny HTTP server that can serve a specified file for a given number of times (default is once) and then terminates.
To use woof, simply invoke it on a single file, and the recipient can access your shared file via a web browser or using a command-line web-client such as cURL, HTTPie, wget or kurly (a curl alternative) from the terminal.
One advantage of woof over other file sharing tools is that it shares files between a different operating system, or different devices (computers, smartphones, tablets etc.), provided the recipient has a web browser installed.
In this article, we will show how to install woof in Linux and use it to share files on a local network.
How to Install and Use Woof in Linux
On Debian and Ubuntu, you can easily install ‘woof‘ package from the distribution’s default repositories using apt or apt-get package manager as shown.
$ sudo apt install woof OR $ sudo apt-get install woof
On other Linux distributions, you can download the woof script using wget command and move it to a /usr/bin directory as shown.
$ wget http://www.home.unix-ag.org/simon/woof $ sudo cp woof /usr/bin/
To share a file, provide it as an argument as shown.
$ woof ./bin/bashscripts/getpubip.sh
Then woof will generate a URL (http://192.168.43.31:8080/ in this case) which your partner can use to access the file.

Share File with Woof
Send the URL to the recipient. Once the recipient accesses the file, woof will shutdown (see the following screenshot).
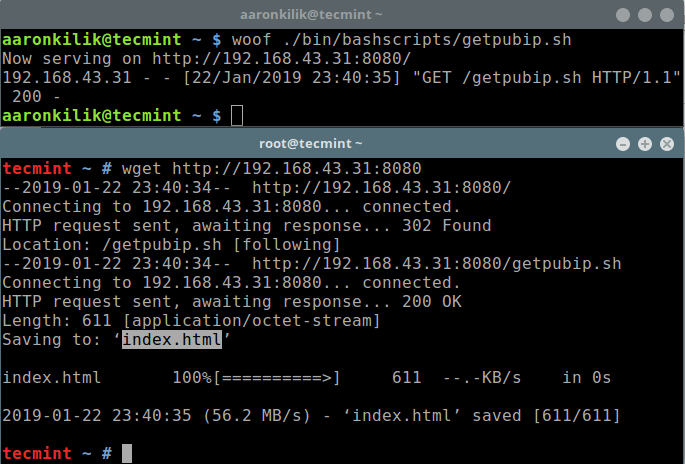
Access File Shared via Woof
Note: In the above example, we have used wget command line downloader to obtain the shared file, and it automatically assigns the downloaded file a different name (for instance index.html).
To specify a custom name, use the -O option as shown.
$ wget -O custom_name http://192.168.43.31:8080
Alternatively, you can also access the shared file from the web browser as shown (click Save File to download it).

Download Shared File from Web Browser
By default, woof shares the file once, and after the recipient downloads it, woof terminates. You can set the number of time woof shares a file before it shuts down, using the -c option.
The following command will terminate woof after three downloads.
$ woof -c 3 ./bin/bashscripts/getpubip.sh
To share a directory, you can create a tarball and compress it by using (-z for gzip compression, or -j for bzip2 compression, or -Z for ZIP compression). For example:
$ woof -c 2 -z ./bin/
Check out the download file name, it should be a Gzip archive as shown in the following screenshot.
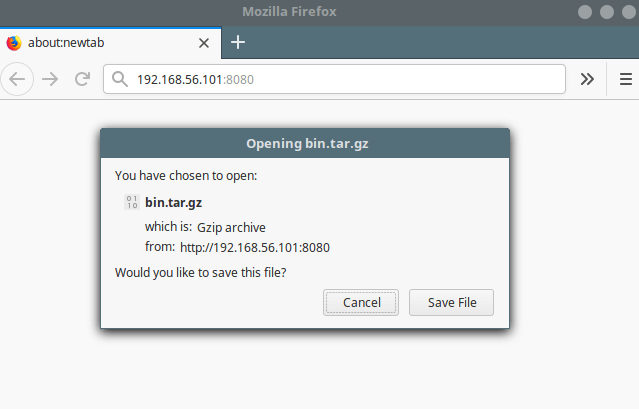
Download Compressed Tar Archive File
In addition, you can use the -U flag to tell woof to provide an upload form, allowing file uploads. The file will be uploaded to the current directory where woof was launched from:
$ woof -U
Then your partner can use the generated URL to access the upload form from a browser as shown.

Woof File Upload Form
After browsing and selecting the file, click the Upload button to upload files.
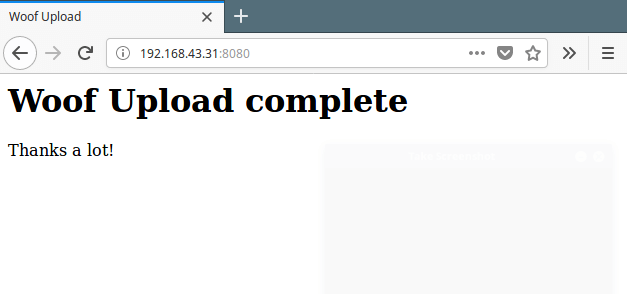
Woof File Upload Complete
You can verify, that the file should be uploaded to the same directory where woof was invoked.

Verify File Uploads
You can see more usage options by running:
$ man woof OR $ woof -h
Woof is a small, simple and easy-to-use HTTP server for sharing files on a local areas network. In this article, we showed how to install and use woof in Linux. Use the feedback form below to share your thoughts about this tool or ask questions.
'Linux > Linux 일반' 카테고리의 다른 글
| pulse secure Ubuntu 20.04 에서 사용하기. (0) | 2021.02.24 |
|---|---|
| xubuntu 20.04 설치 (nvidia 호환문제, 설치 후 세팅) (2) | 2020.12.10 |
| RabbitMQ 설치 테스트 해보기 (0) | 2020.11.26 |


